

Do you need to add content material locking to your WordPress web site?
Many web sites use content material locking to spice up their lead era, enhance gross sales, or construct their e mail record.
On this article, we’ll present you the right way to add content material locking in WordPress with out annoying customers.


What’s Content material Locking & When Do You Want It?
Content material locking is a way utilized by web site house owners to encourage their customers to take motion. That motion is perhaps something from signing up for an e mail e-newsletter to paying for premium content material.


Content material locking works equally to content material upgrades. While you provide precious content material in your WordPress web site resembling a course or e-book obtain, you give your guests a motive to take initiative and join a membership.
Doing this successfully can assist you generate leads, construct an e mail record, and develop your online business. However in case you don’t arrange content material locking in one of the simplest ways, then guests to your web site might discover it annoying.
That being mentioned, let’s see how one can simply add content material locking in WordPress the correct means. Technique 1 is finest for unique free content material, and Technique 2 for premium paid content material.
- Technique 1: Add Content material Locking with OptinMonster
- Technique 2: Add Content material Locking with MemberPress
Technique 1: Add Content material Locking with OptinMonster
OptinMonster is the finest e mail seize instrument in the marketplace. It’s your best option once you need to use unique content material to develop your e mail record.
You will want a Plus or increased plan for content material locking. WPBeginner customers can get a ten% low cost through the use of this OptinMonster coupon.
The very first thing you want to do is set up and activate the OptinMonster plugin. For extra particulars, see our information on the right way to set up a WordPress plugin.
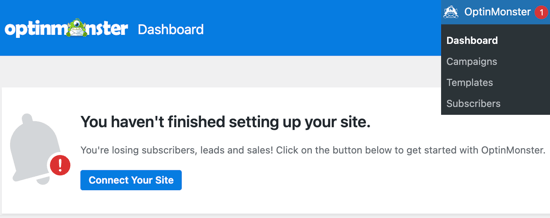
Upon activation, you’ll want to attach your web site to your OptinMonster account. You are able to do that by clicking on the OptinMonster menu merchandise in your WordPress admin bar after which clicking the Join Your Web site button.

When you’ve carried out that, you’ll then have to log into your OptinMonster account or create a brand new one.
After you might be efficiently linked, you must navigate to the OptinMonster » Campaigns web page in your WordPress dashboard. Because you haven’t but created a marketing campaign, you’ll be requested to create a brand new one.
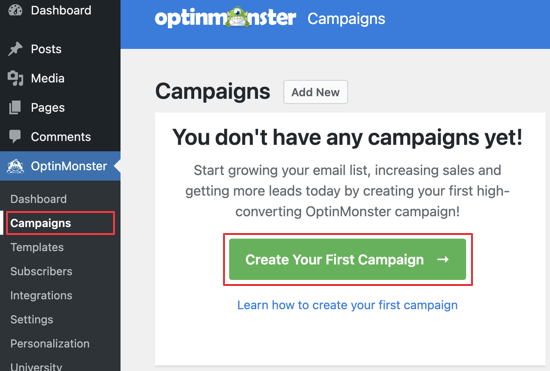

While you click on the ‘Create Your First Marketing campaign’ button, you’ll be taken to the OptinMonster web site and requested to pick a marketing campaign kind.
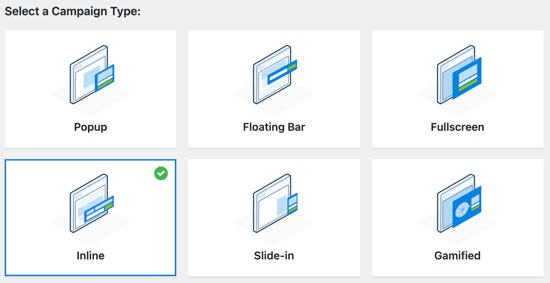
So as to add content material locking, you’ll want to pick the Inline choice.

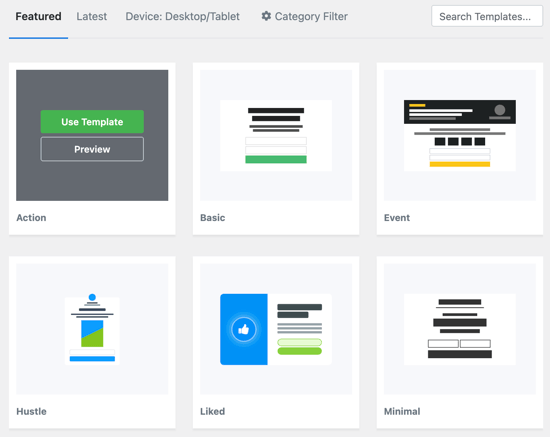
You’ll then have to scroll down and select a template. OptinMonster gives 65+ templates, they usually all work nice throughout any system.
You possibly can view every template by clicking on the Preview button. While you discover one which matches your wants, you’ll have to click on the Use Template button.
We’ll go along with the Motion template as a result of it factors our readers’ consideration to a single name to motion.

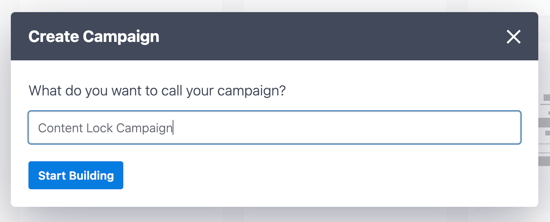
You’ll then be requested to supply a title to your marketing campaign.
When you’ve typed it in, merely click on the Begin Constructing button.

It will open the OptinMonster editor. Right here you’ll be able to spend time perfecting the content material and look of the popup.
You possibly can click on on any part to alter the wording, edit fonts, add pictures, change colours, and extra. You may as well customise the Success message that’s exhibited to your customers after they join.
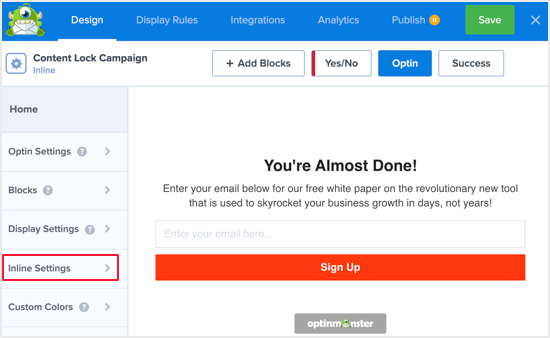

When you’re pleased with the best way your popup appears to be like, we have to activate content material locking.
To try this, you want to click on on the Inline Settings tab. You possibly can then activate content material locking by clicking on the ‘Lock Content Below Campaign’ on/off change.
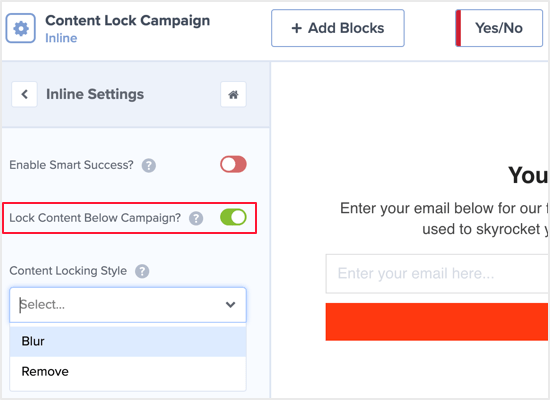

Whilst you’re there, you must select whether or not your locked content material will probably be blurred or simply not displayed. You can also make your choice from the Content material Locking Fashion dropdown menu.
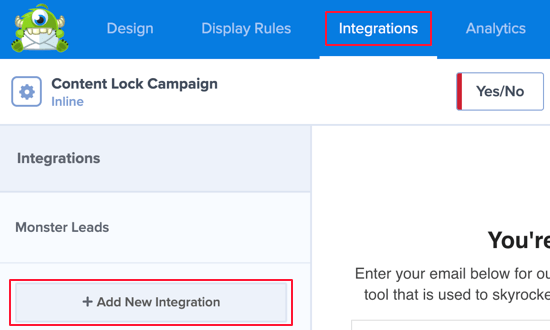
The following step is to attach your e mail advertising service. The excellent news is that OptinMonster helps many widespread suppliers.
You’ll have to click on on the ‘Add New Integration’ button. You must discover your e mail service within the drop down menu.

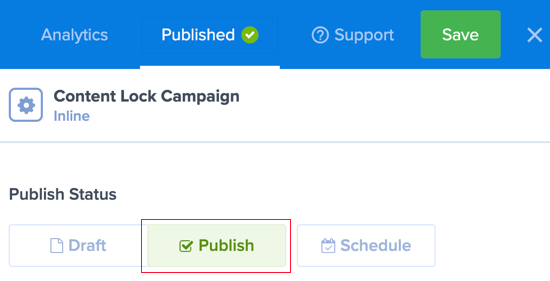
After that, you want to make the marketing campaign energetic. Merely click on on the Printed tab on the high of the display after which click on on the Publish button.
Then it can save you your marketing campaign by clicking the Save button on the high proper.

We’ll end organising OptinMonster again at your WordPress dashboard. As soon as there, you want to navigate to OptinMonster » Campaigns.
It will take you to your record of campaigns.
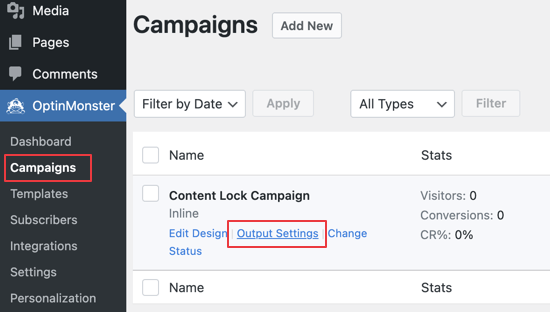

While you hover your mouse over the present marketing campaign, some hyperlinks will seem. To customise how your content material locking will work, click on on the Output Settings hyperlink.
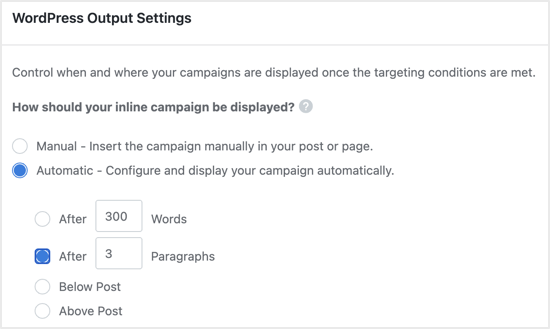
The Automated choice is the only to arrange. It should lock content material robotically after a specified variety of phrases or paragraphs. For instance, you might lock all content material after the primary three paragraphs in every submit.

The Handbook setting requires a bit of extra work however enables you to select precisely which content material will probably be locked. You do that by including a shortcode to every submit that you simply want to lock.
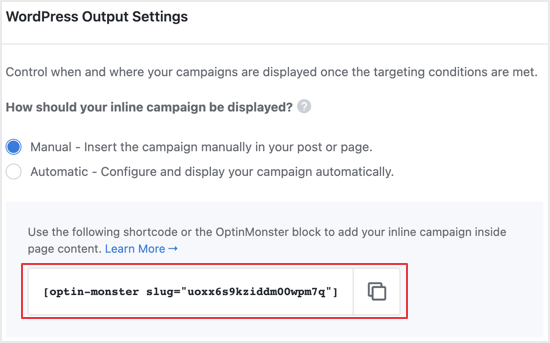

Begin by copying the shortcode.
So as to add it to your content material, you’ll have to edit the submit or web page the place you need to allow content material locking. Merely paste the shortcode simply earlier than the content material you want to lock.
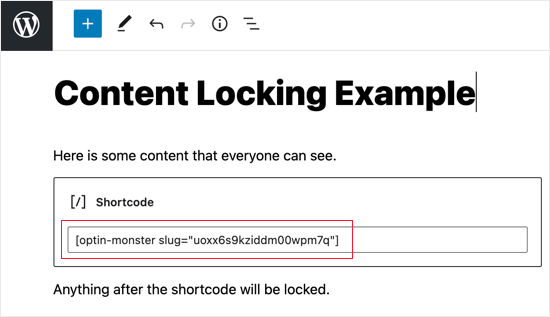

Now it can save you and publish your submit or web page.
When you’d prefer to see content material locking in motion, then merely go to the submit or web page in a brand new browser window.
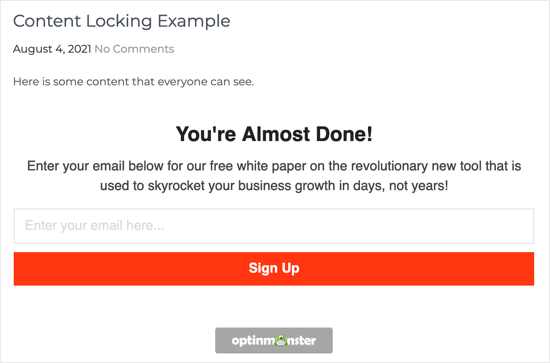

The locked content material is blurred or hidden.
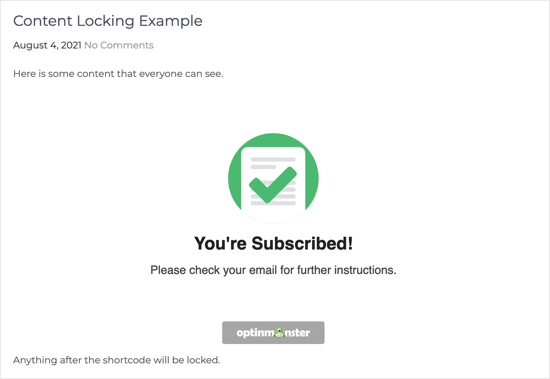
As soon as they enter an e mail deal with, the locked content material will probably be displayed.

Technique 2: Add Content material Locking with MemberPress
MemberPress is the finest membership plugin for WordPress, and it could actually successfully lock your WordPress content material. It’s your best option once you need to earn cash by charging for premium content material.
You will want no less than a Fundamental plan for content material locking. WPBeginner customers can stand up to 50% off through the use of this MemberPress coupon.
The very first thing you want to do is set up and activate the MemberPress plugin. For extra particulars, see our information on the right way to set up a WordPress plugin.
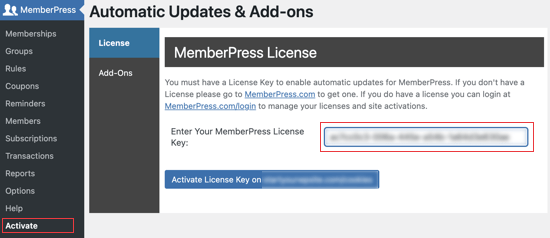
On activation, you’ll should enter your MemberPress license key. To try this, navigate to MemberPress » Activate and paste your key into the textual content field. You then have to click on the Activate License Key button.

While you first arrange your membership web site, you’ll have to pick up a cost technique, determine on pricing, create a signup web page, and extra.
Take a look at our final information on the right way to create a WordPress membership web site for all the main points.
On this tutorial, we’ll present you the right way to use MemberPress to create a premium subscription after which decide which content material can solely be accessed after paying for a membership.
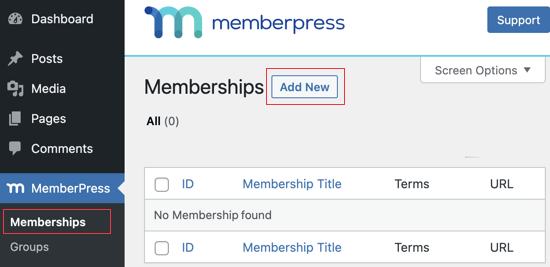
Let’s begin by organising a brand new membership plan to your subscribers. To create a membership degree, you want to go to the MemberPress » Memberships web page and click on on the ‘Add New’ button on the high.

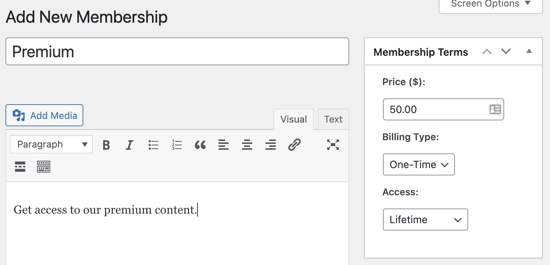
You’ll want to provide the plan a reputation and determine on the price of the content material and the billing kind.
We’ll create a one-time lifetime cost, however you might select one of many common subscription choices.

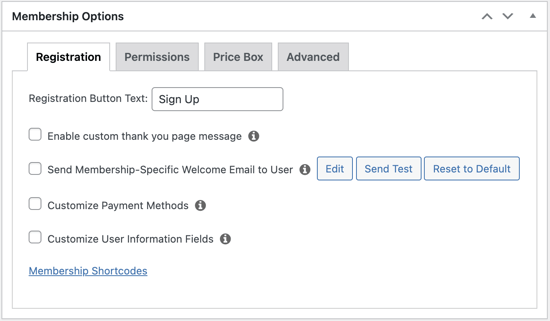
After that, you want to scroll all the way down to the membership choices meta field under the submit editor.
That is the place you’ll be able to customise permissions and membership choices for this explicit plan.

When you want a couple of membership plan, then go forward and repeat this course of. While you’re completed, you’ll be able to click on on the Publish button on the left of the display to make it obtainable.
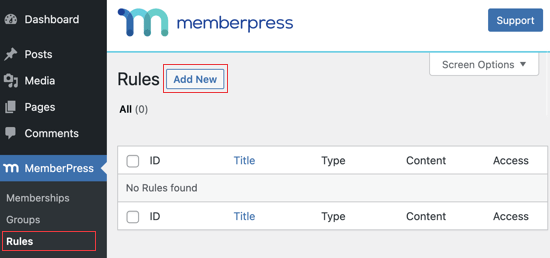
The following step is to pick which content material is on the market to every membership plan in your web site. MemberPress makes it simple to regulate entry utilizing ‘Rules’.
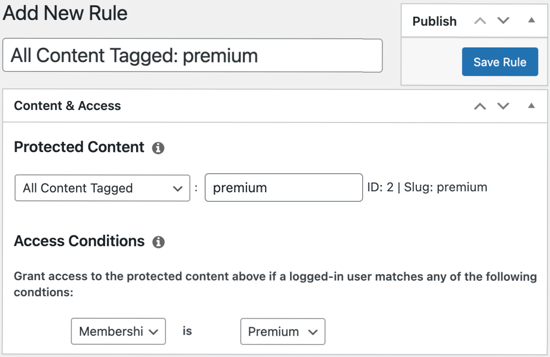
You possibly can arrange your guidelines by visiting the MemberPress » Guidelines web page and clicking on the Add New button on the high.

The rule edit web page lets you choose completely different situations and affiliate them to a membership plan.
For instance, we’ll shield all content material with the ‘premium’ tag in order that it’s obtainable solely to members of the Premium plan.

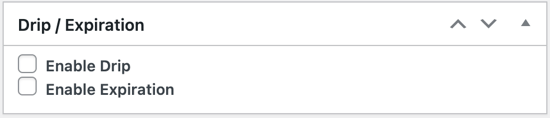
Beneath the principles editor, you’ll see the content material drip and expiration choices. These allow you to launch content material step by step and make it unavailable after a time frame.
When you’d like all of the content material to be obtainable as quickly as they join, and stay obtainable with out expiring, then you must depart them unchecked.

Repeat the method to create extra guidelines as wanted to your membership web site.
As soon as you might be glad, go forward and click on on the ‘Save Rule’ button on the left to avoid wasting your rule settings.

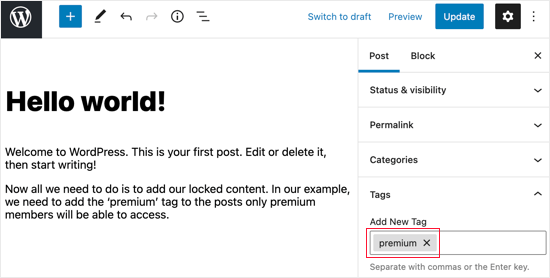
Now all we have to do is so as to add our locked content material.
In our instance, we’ll want so as to add the ‘premium’ tag to the posts we would like solely Premium members to have the ability to entry.

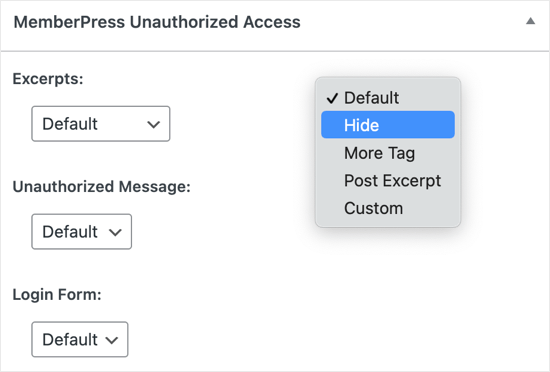
Subsequent, scroll all the way down to the ‘MemberPress Unauthorized Access’ metabox under the submit editor.
Right here you’ll be able to choose what logged out customers (non-members) will see once they attain this content material.

You possibly can see the content material lock in motion by visiting your WordPress web site.
That is what somebody who isn’t a premium member will see when navigating to a locked web page on our demo web site.
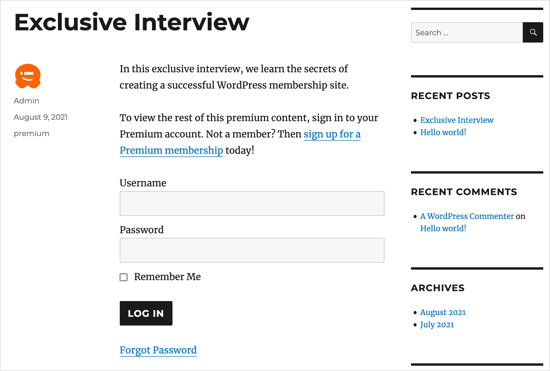
Premium members will be capable of see the content material once they log in to your WordPress web site.
We hope this text helped you add content material locking in WordPress. You may additionally need to study the correct technique to create an e mail e-newsletter or try our record of should have WordPress plugins to develop your web site.
When you favored this text, then please subscribe to our YouTube Channel for WordPress video tutorials. You may as well discover us on Twitter and Fb.
The submit Easy methods to Add Content material Locking in WordPress (2 Strategies) appeared first on WPBeginner.