


The best way you creatively use Divi’s built-in options could make a distinction in your web page design. Divi’s scroll results, as an example, can help you create lovely interactions on scroll. Immediately, we’re including one other tutorial to your record of issues you are able to do with Divi’s built-in scroll results. Extra particularly, we’ll present you how you can mix copy on scroll. At first sight, the copy is positioned beneath the accompanying picture. Nevertheless, as quickly as you scroll to a sure level, the copy will seem on high of the product picture and can begin mixing with the picture. This results in an attention-grabbing impact that appears easy. You’ll have the ability to obtain the format JSON file without cost as effectively!
Let’s get to it.
Preview
Earlier than we dive into the tutorial, let’s take a fast take a look at the end result throughout totally different display sizes.
Desktop

Cellular

Obtain The Format for FREE
To put your arms on the free format, you’ll first must obtain them utilizing the button beneath. To achieve entry to the obtain you have to to subscribe to our Divi Day by day e mail record through the use of the shape beneath. As a brand new subscriber, you’ll obtain much more Divi goodness and a free Divi Format pack each Monday! Should you’re already on the record, merely enter your e mail deal with beneath and click on obtain. You’ll not be “resubscribed” or obtain additional emails.
@media solely display and ( max-width: 767px ) {.et_bloom .et_bloom_optin_1 .carrot_edge.et_bloom_form_right .et_bloom_form_content:earlier than { border-top-color: #ffffff !vital; border-left-color: clear !vital; }.et_bloom .et_bloom_optin_1 .carrot_edge.et_bloom_form_left .et_bloom_form_content:after { border-bottom-color: #ffffff !vital; border-left-color: clear !vital; }
}.et_bloom .et_bloom_optin_1 .et_bloom_form_content button { background-color: #f92c8b !vital; } .et_bloom .et_bloom_optin_1 .et_bloom_form_content .et_bloom_fields i { shade: #f92c8b !vital; } .et_bloom .et_bloom_optin_1 .et_bloom_form_content .et_bloom_custom_field_radio i:earlier than { background: #f92c8b !vital; } .et_bloom .et_bloom_optin_1 .et_bloom_border_solid { border-color: #f7f9fb !vital } .et_bloom .et_bloom_optin_1 .et_bloom_form_content button { background-color: #f92c8b !vital; } .et_bloom .et_bloom_optin_1 .et_bloom_form_container h2, .et_bloom .et_bloom_optin_1 .et_bloom_form_container h2 span, .et_bloom .et_bloom_optin_1 .et_bloom_form_container h2 robust { font-family: “Open Sans”, Helvetica, Arial, Lucida, sans-serif; }.et_bloom .et_bloom_optin_1 .et_bloom_form_container p, .et_bloom .et_bloom_optin_1 .et_bloom_form_container p span, .et_bloom .et_bloom_optin_1 .et_bloom_form_container p robust, .et_bloom .et_bloom_optin_1 .et_bloom_form_container type enter, .et_bloom .et_bloom_optin_1 .et_bloom_form_container type button span { font-family: “Open Sans”, Helvetica, Arial, Lucida, sans-serif; } p.et_bloom_popup_input { padding-bottom: 0 !vital;}


Obtain For Free
Be part of the Divi Publication and we’ll e mail you a replica of the final word Divi Touchdown Web page Format Pack, plus tons of different wonderful and free Divi assets, ideas and tips. Observe alongside and you may be a Divi grasp very quickly. If you’re already subscribed merely kind in your e mail deal with beneath and click on obtain to entry the format pack.
You’ve efficiently subscribed. Please verify your e mail deal with to verify your subscription and get entry to free weekly Divi format packs!
Let’s Begin Recreating!
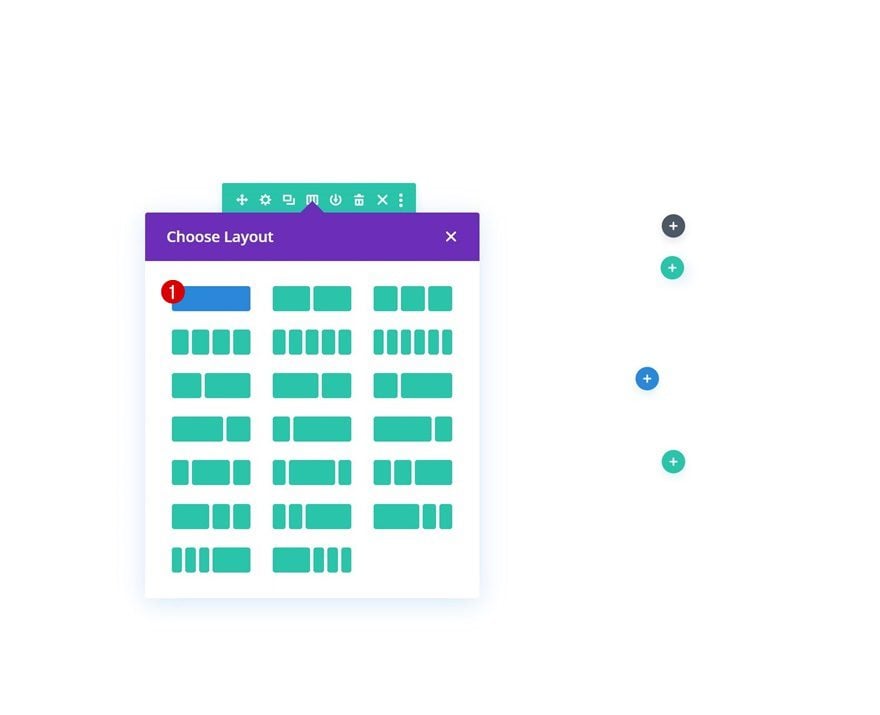
Add 2x Placeholder Sections
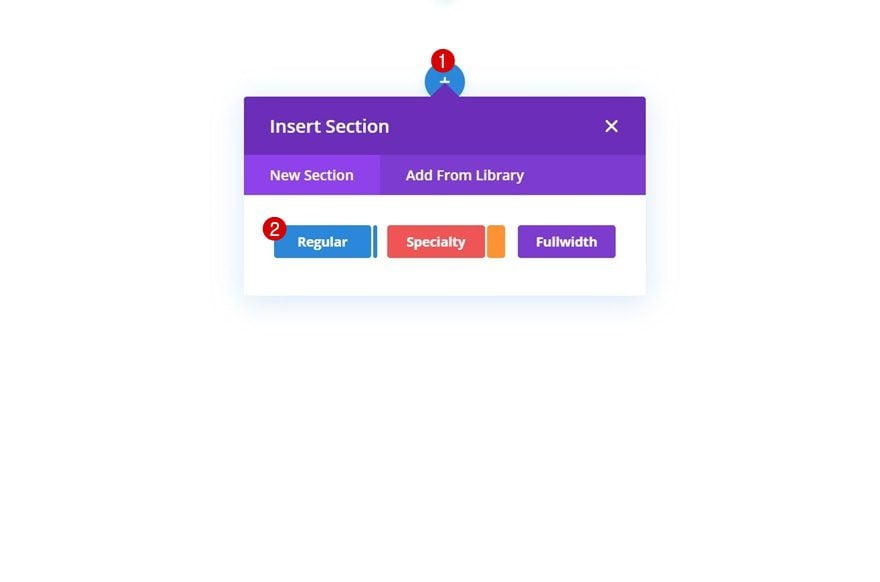
Add New Part
Begin by including a placeholder part to the web page you’re engaged on.

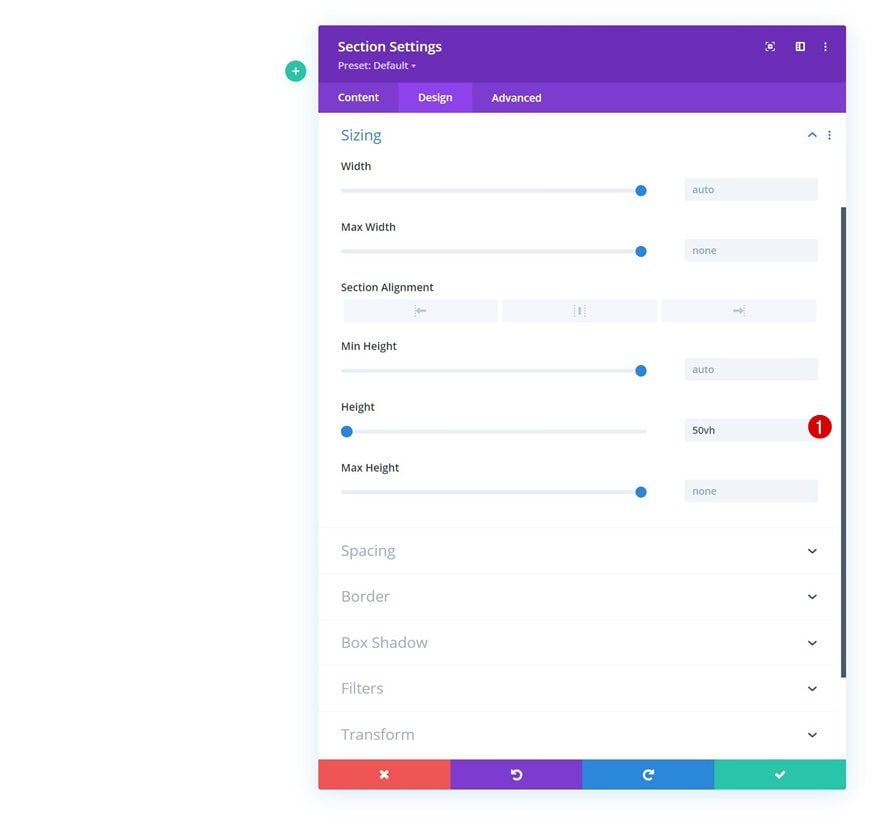
Sizing
Open the part settings and alter the peak within the sizing settings.
- Peak: 50vh

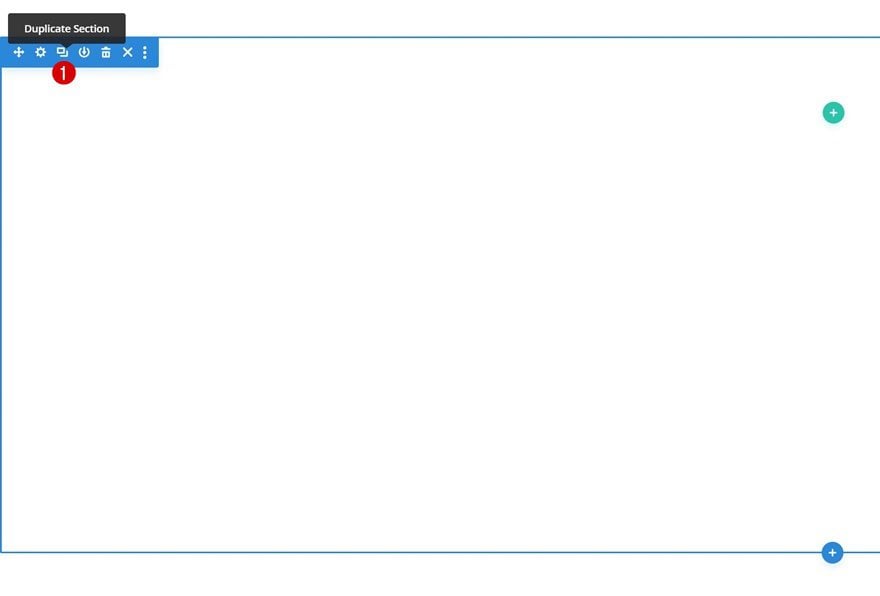
Clone Part
Clone the part as soon as. This leaves you with two placeholder sections in your web page. These placeholder sections will allow you to see the ultimate impact after going by way of the tutorial. On a stay web site, the placeholder sections will probably be changed with regular sections you utilize all through the web page.

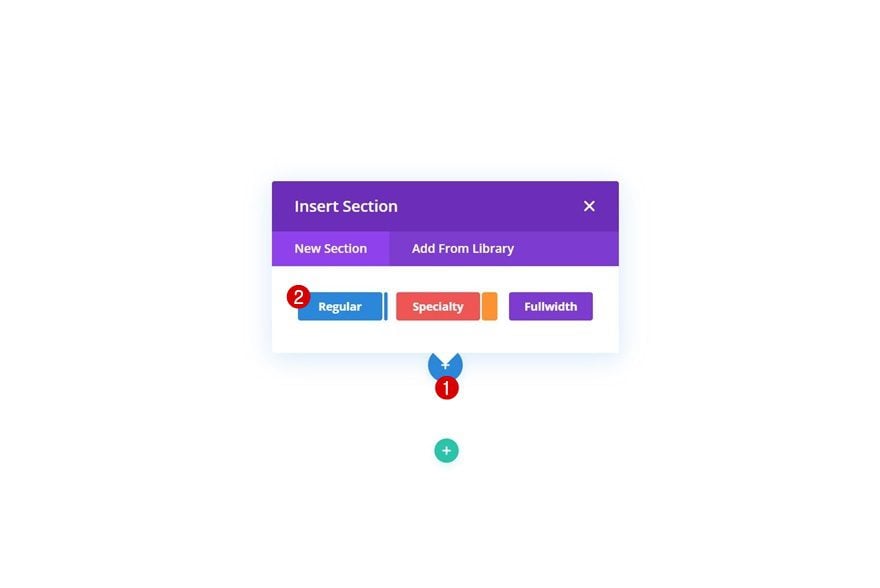
Add New Part Between Placeholder Sections
As soon as the placeholder sections are in place, add a brand new part between the placeholder sections.

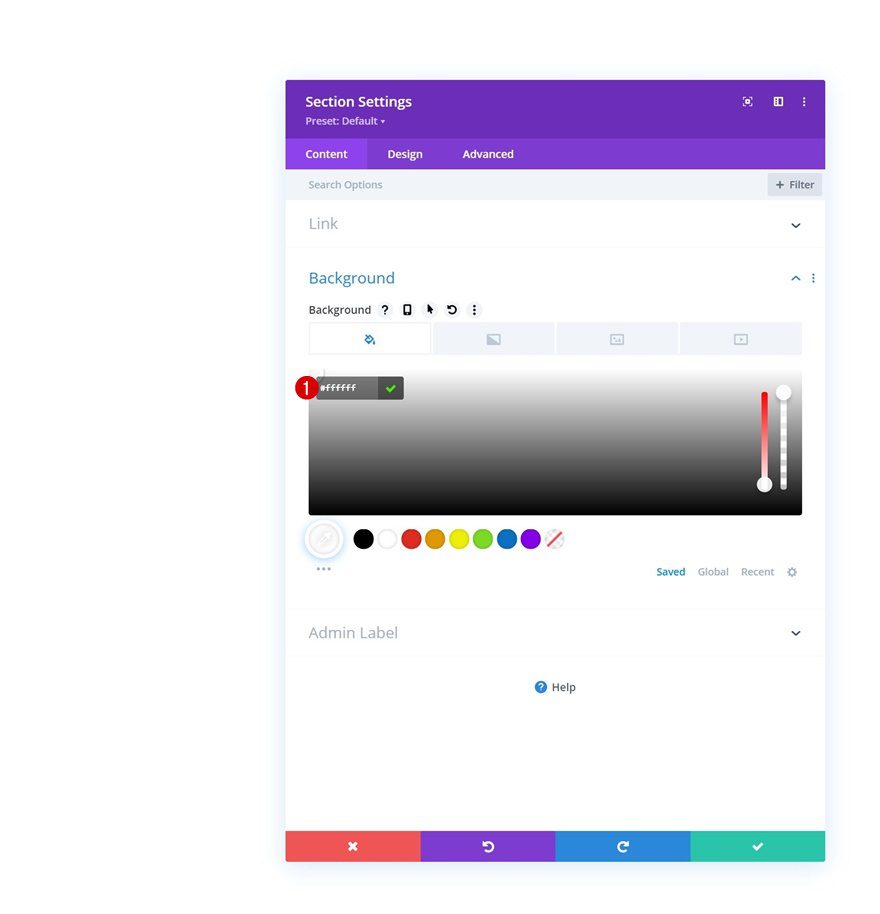
Background Shade
Open the part settings and use a white background shade.
- Background Shade: #ffffff

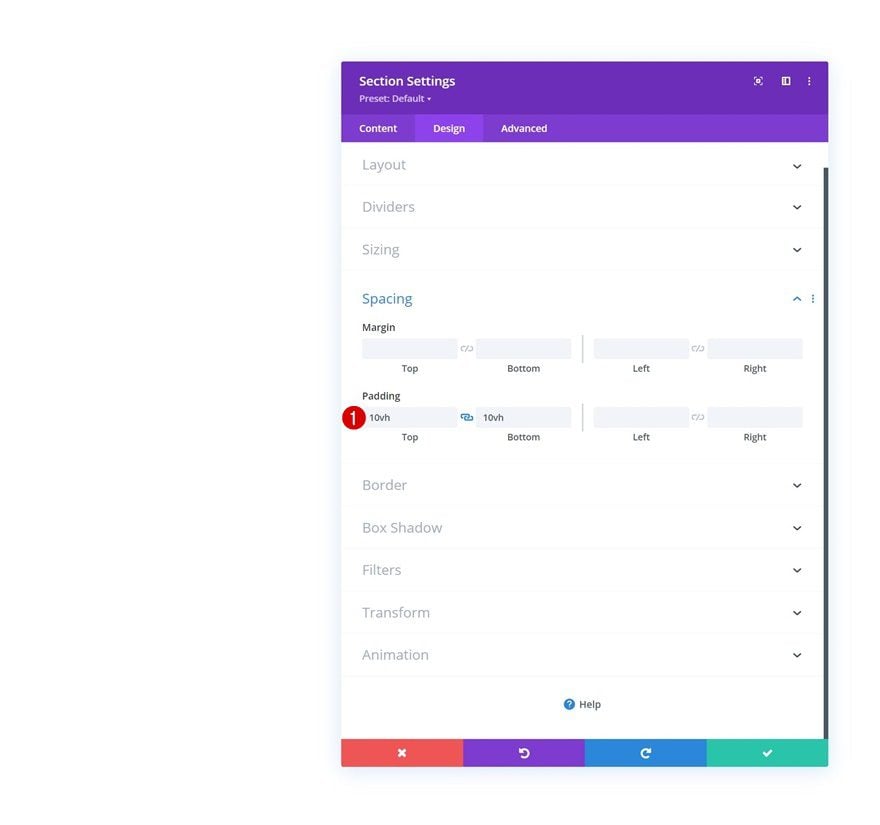
Spacing
Transfer on to the part’s design tab and modify the highest and backside padding values accordingly:
- High Padding: 10vh
- Backside Padding: 10vh

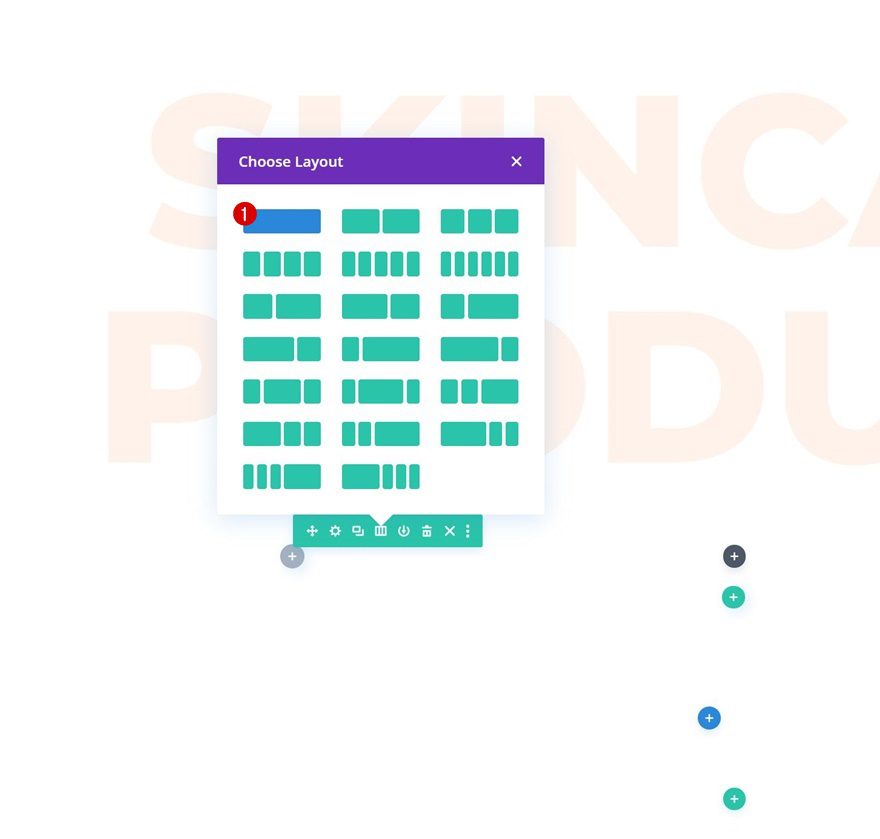
Add Row #1
Column Construction
Proceed by including a brand new row to the part utilizing the next column construction:

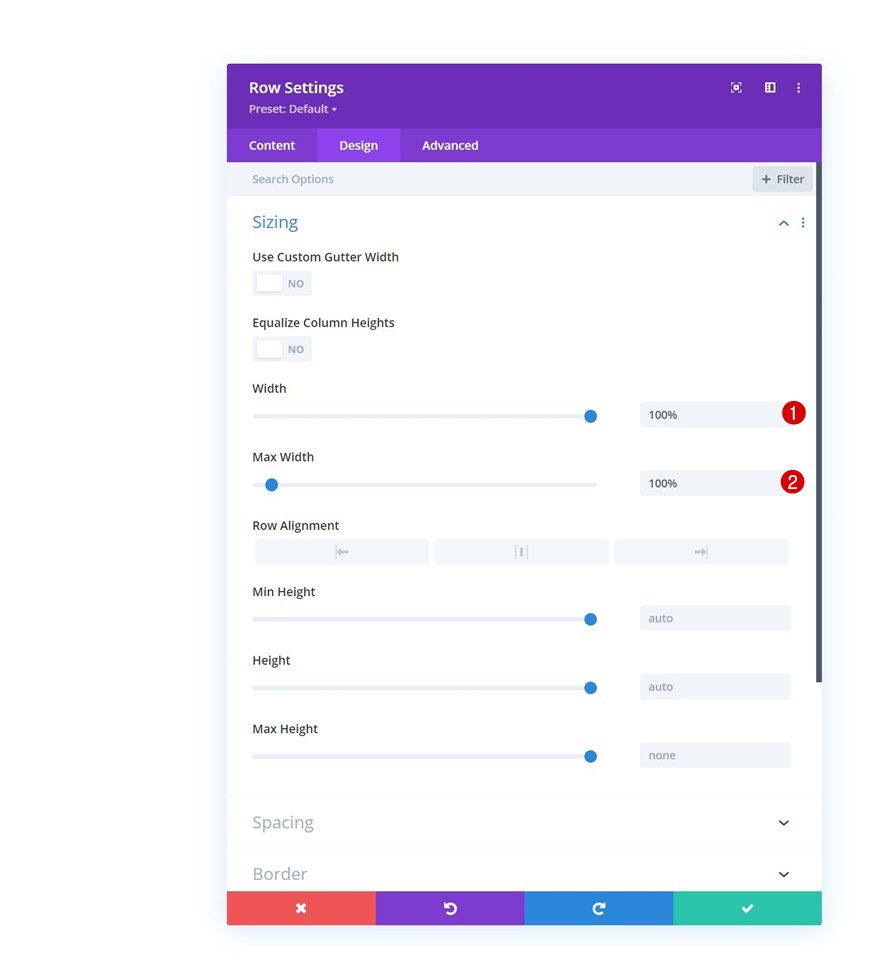
Sizing
With out including modules but, open the row settings, go to the sizing settings and modify the width and max width values.
- Width: 100%
- Max Width: 100%

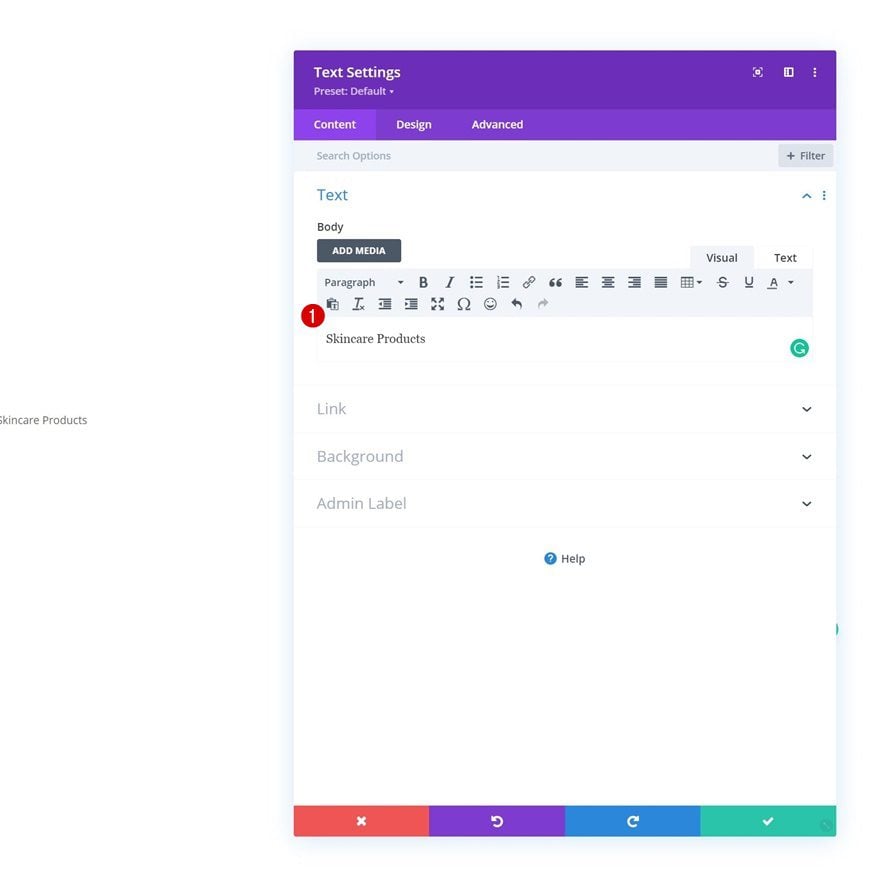
Add Textual content Module to Column
Add Copy
The one module we want for this row is a Textual content Module. Add some copy of your alternative.

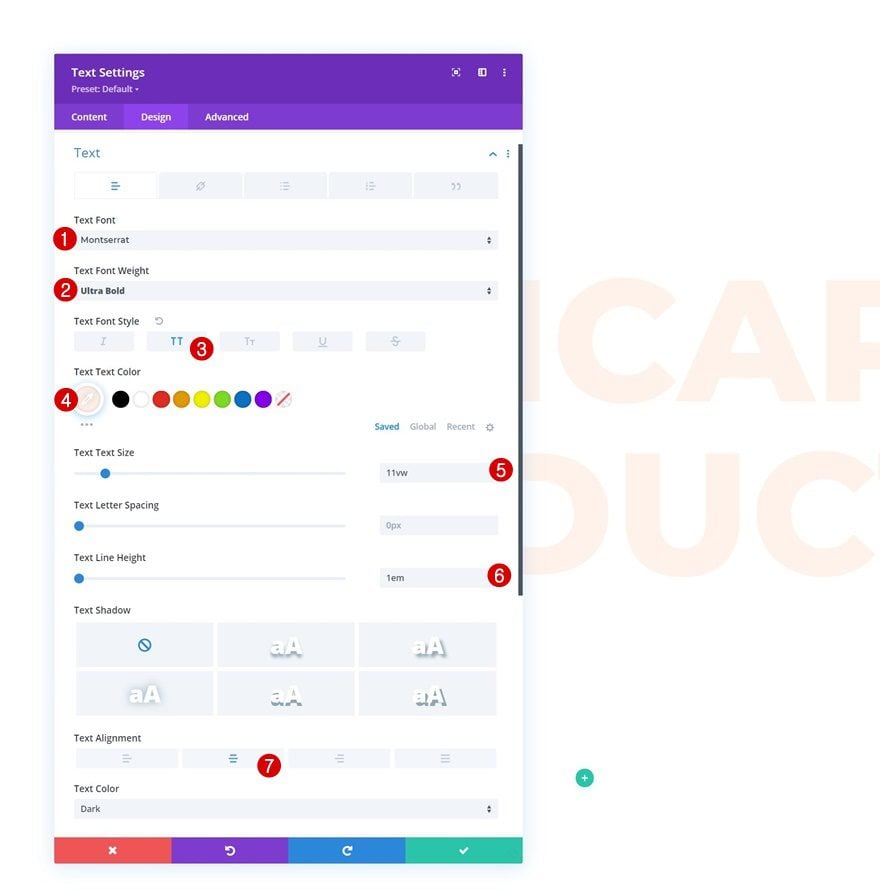
Textual content Settings
Transfer on to the module’s design tab and alter the textual content settings accordingly:
- Textual content Font: Montserrat
- Textual content Font Weight: Extremely Daring
- Textual content Font Fashion: Uppercase
- Textual content Shade: #fff2ea
- Textual content Measurement: 11vw
- Textual content Line Peak: 1em
- Textual content Alignment: Heart

Add Row #2
Column Construction
Add one other row to the part utilizing the next column construction:

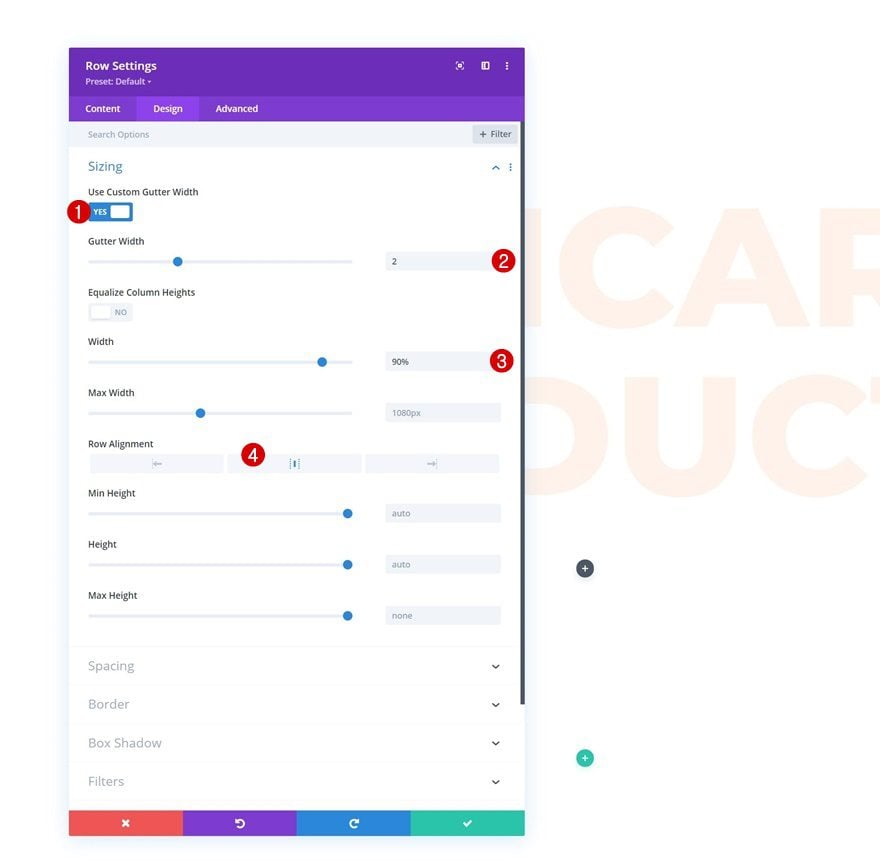
Sizing
With out including modules but, open the row settings and alter the sizing settings as follows:
- Use Customized Gutter Width: Sure
- Gutter Width: 2
- Width: 90%
- Row Alignment: Heart

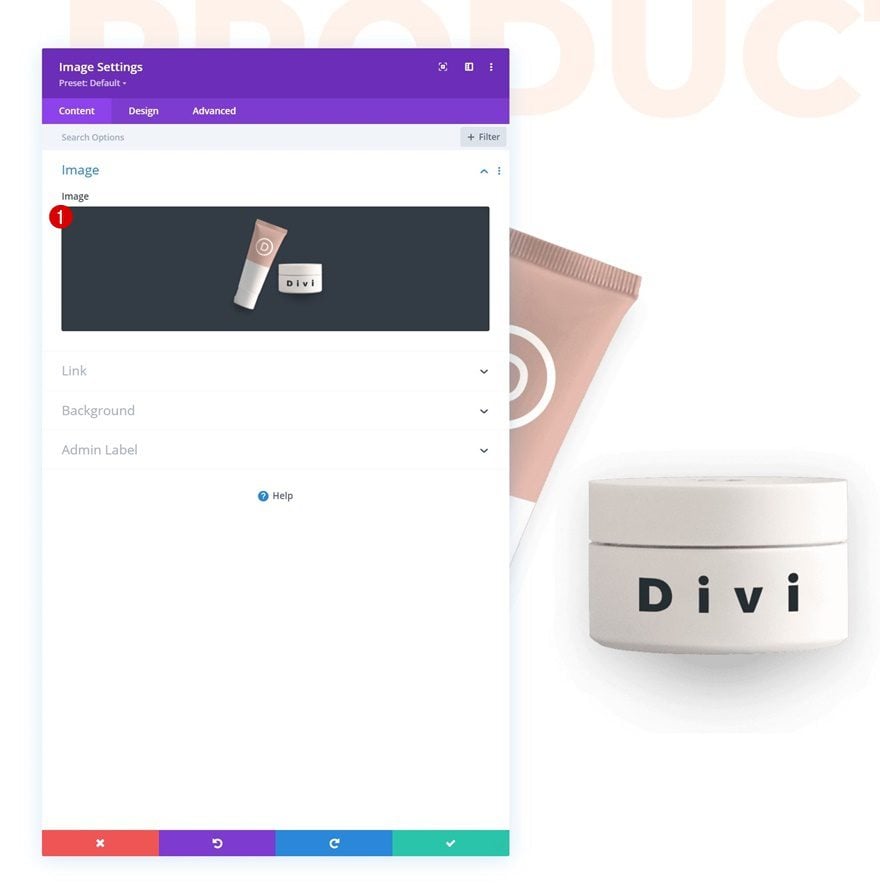
Add Picture Module to Column
Add Picture
Add an Picture Module to the row’s column. Add a picture of your alternative.
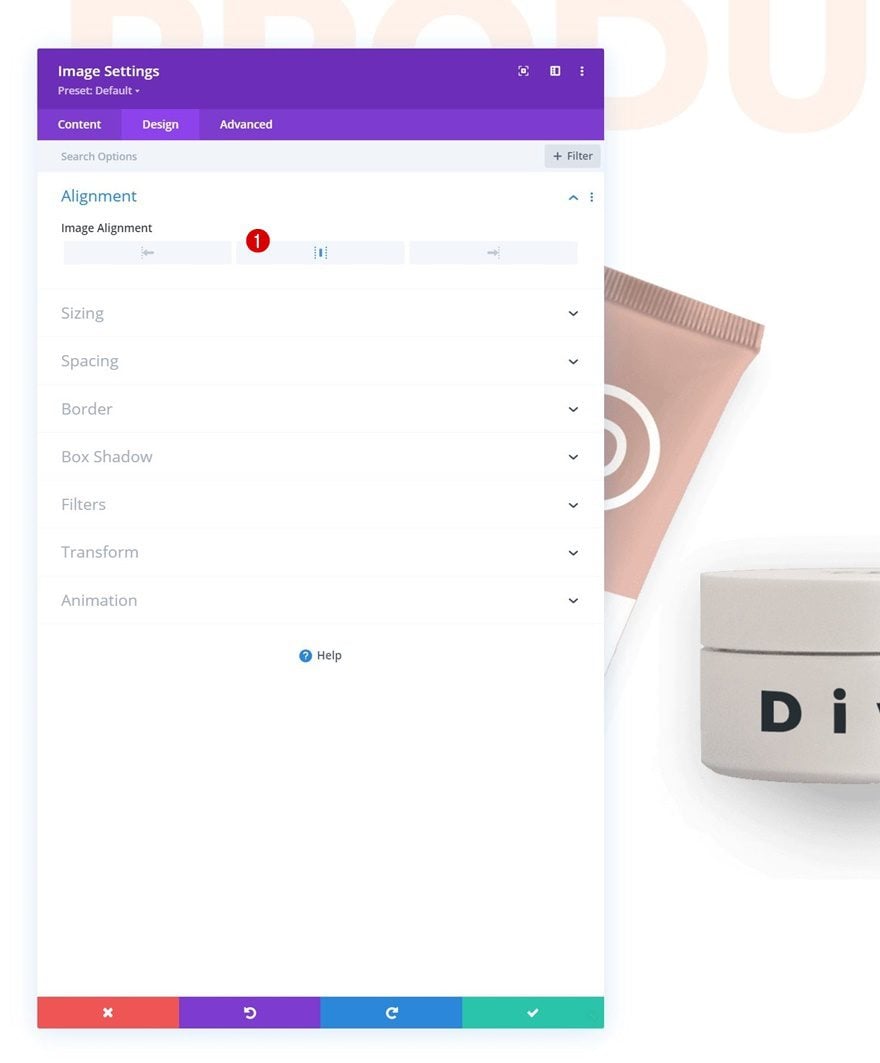
Alignment
Transfer on to the module’s design tab and alter the picture alignment accordingly:
- Picture Alignment: Heart

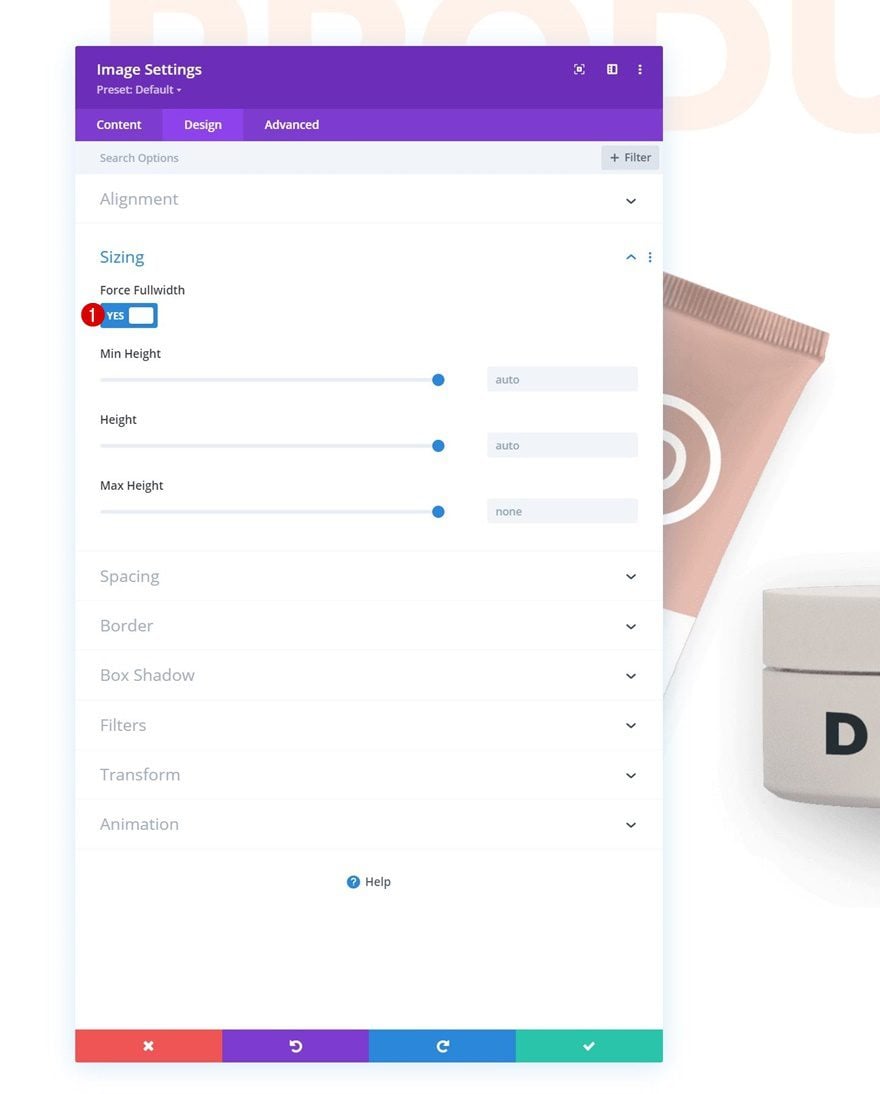
Sizing
Then, go to the sizing settings and power fullwidth on the module.
- Drive Fullwidth: Sure

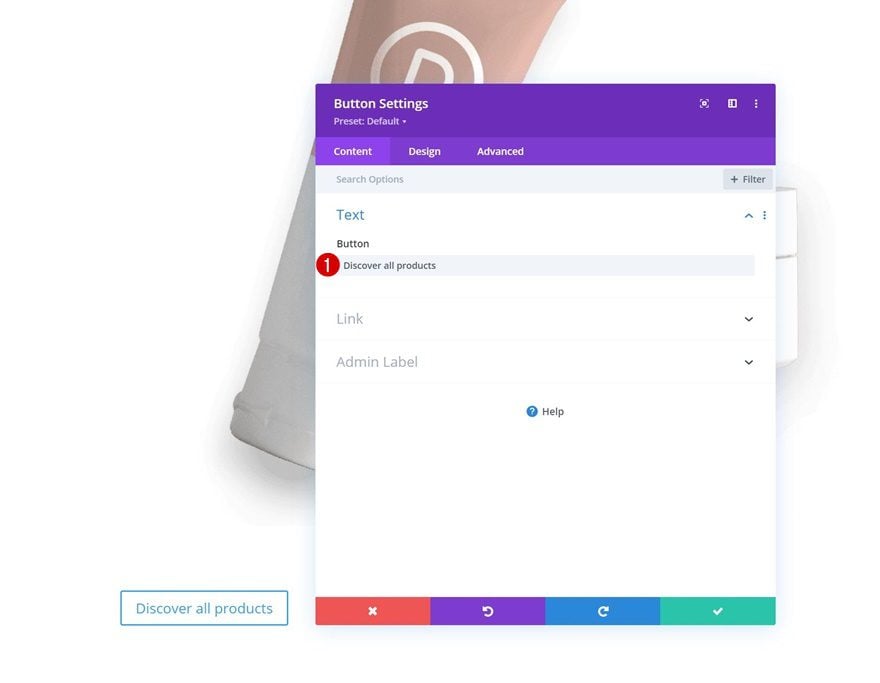
Add Button Module to Column
Add Copy
The subsequent and final module we’ll add to the column is a Button Module. Use some copy of your alternative.

Button Alignment
Go to the design tab and alter the button alignment.
- Button Alignment: Heart


Button Settings
Then, model the button as follows:
- Use Customized Kinds For Button: Sure
- Button Textual content Measurement: 16px
- Button Textual content Shade: #000000
- Button Background Shade: #ffffff
- Button Border Width: 0px
- Button Letter Spacing: 2px
- Button Font: Montserrat
- Button Font Weight: Daring
- Button Font Fashion: Uppercase


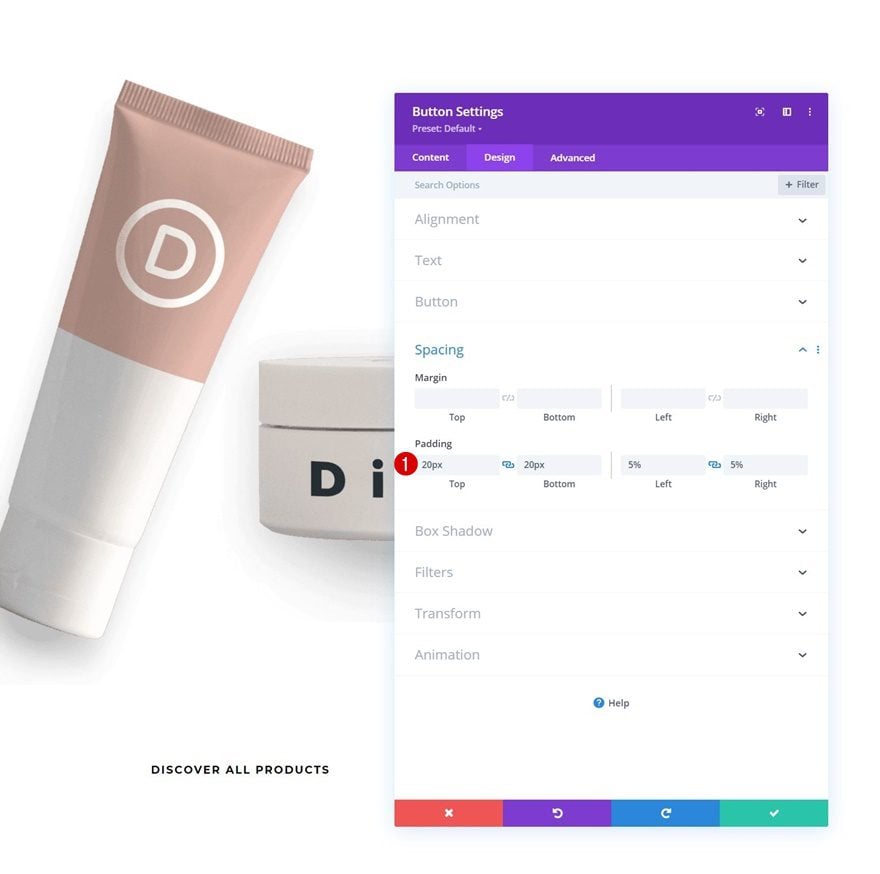
Spacing
Use some customized padding values within the spacing settings as effectively.
- High Padding: 20px
- Backside Padding: 20px
- Left Padding: 5%
- Proper Padding: 5%

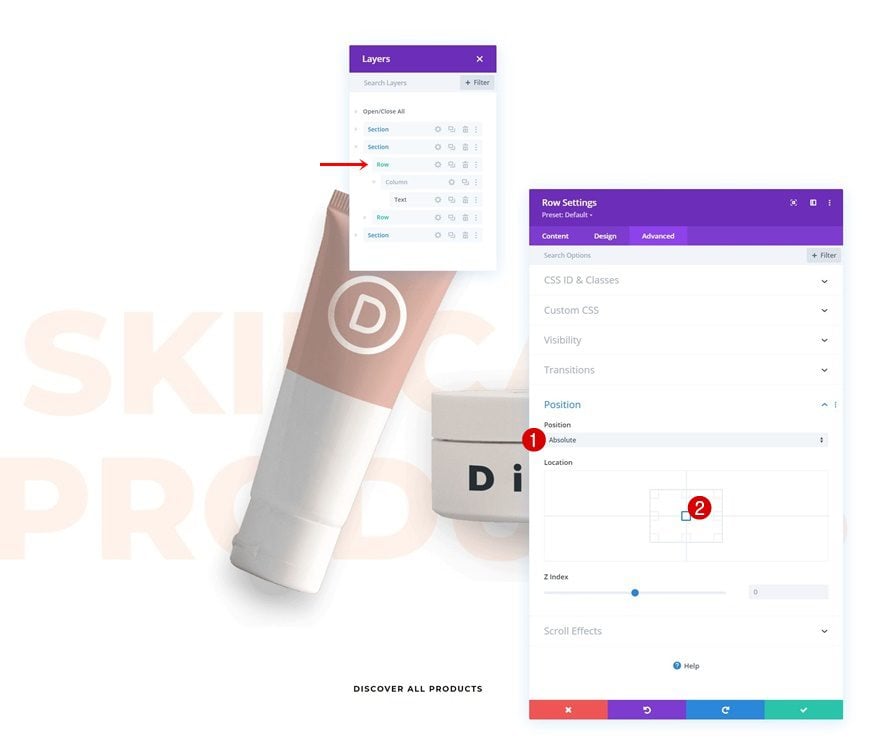
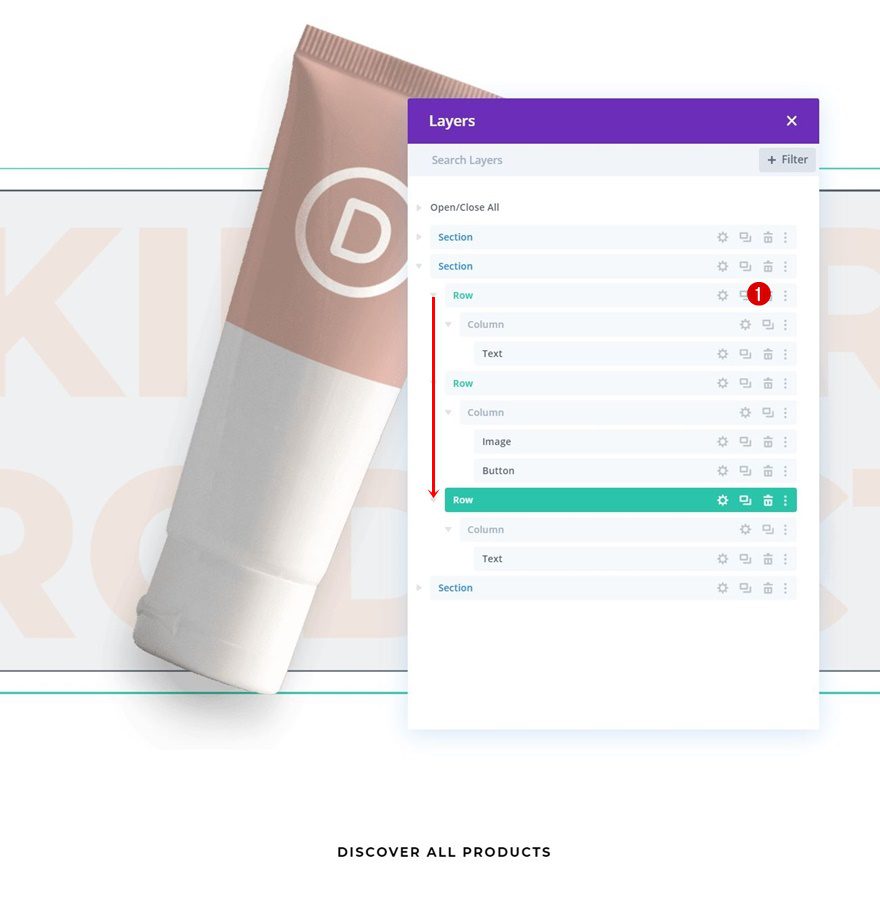
Add Absolute Positioning to Row #1
When you’ve accomplished the second row, navigate again to row #1. Open the row’s settings, go to the superior tab and switch the part absolute. By doing this, the row, and the Textual content Module inside it, will probably be positioned beneath the row containing the Picture Module.
- Place: Absolute
- Location: Heart

Clone Row #1 & Place Duplicate Beneath Row #2
To permit the Textual content Module to look on high of the picture, we’ll want one other row with a better z index worth. Clone the primary row and place the duplicate beneath the second row.

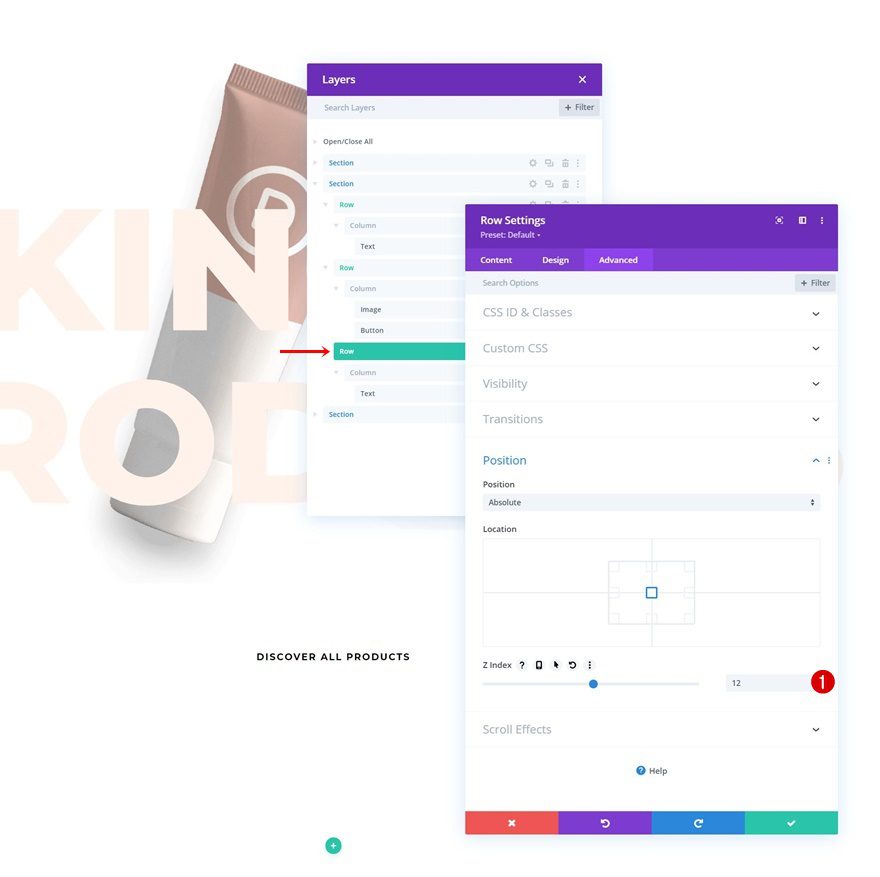
Apply Results to Row #3
Improve Z Index
Open the duplicate row and alter the z index within the superior tab.
- Z Index: 12

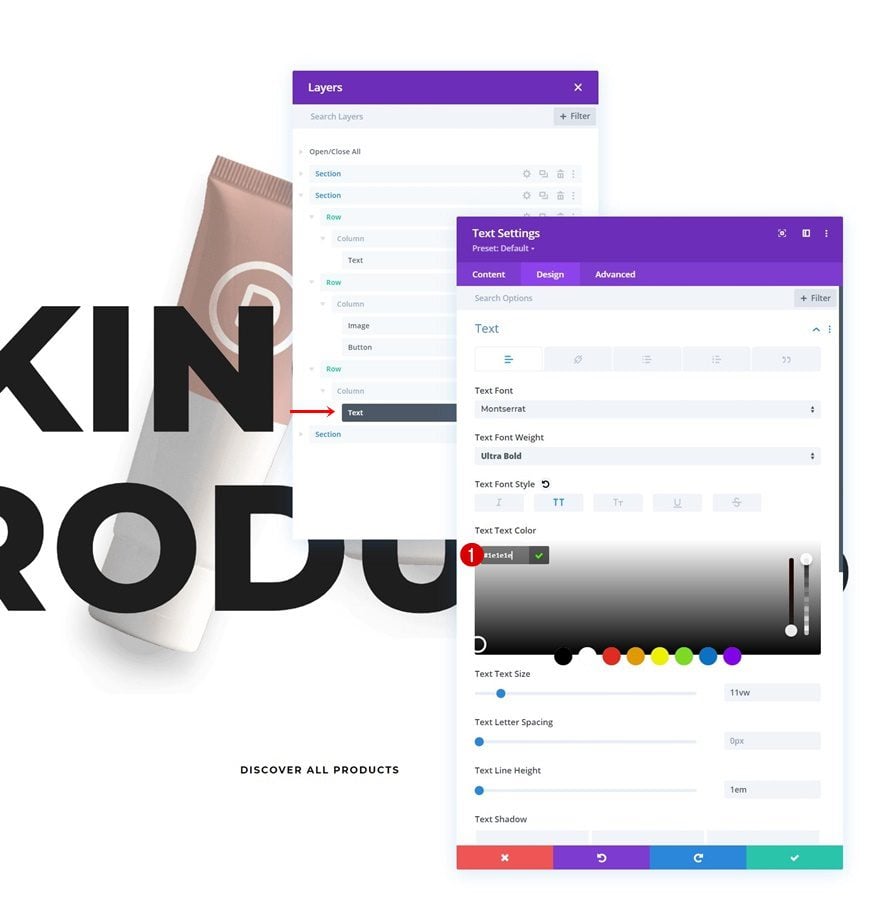
Change Textual content Shade
Open the Textual content Module within the row and alter the textual content shade.
- Textual content Shade: #1e1e1e

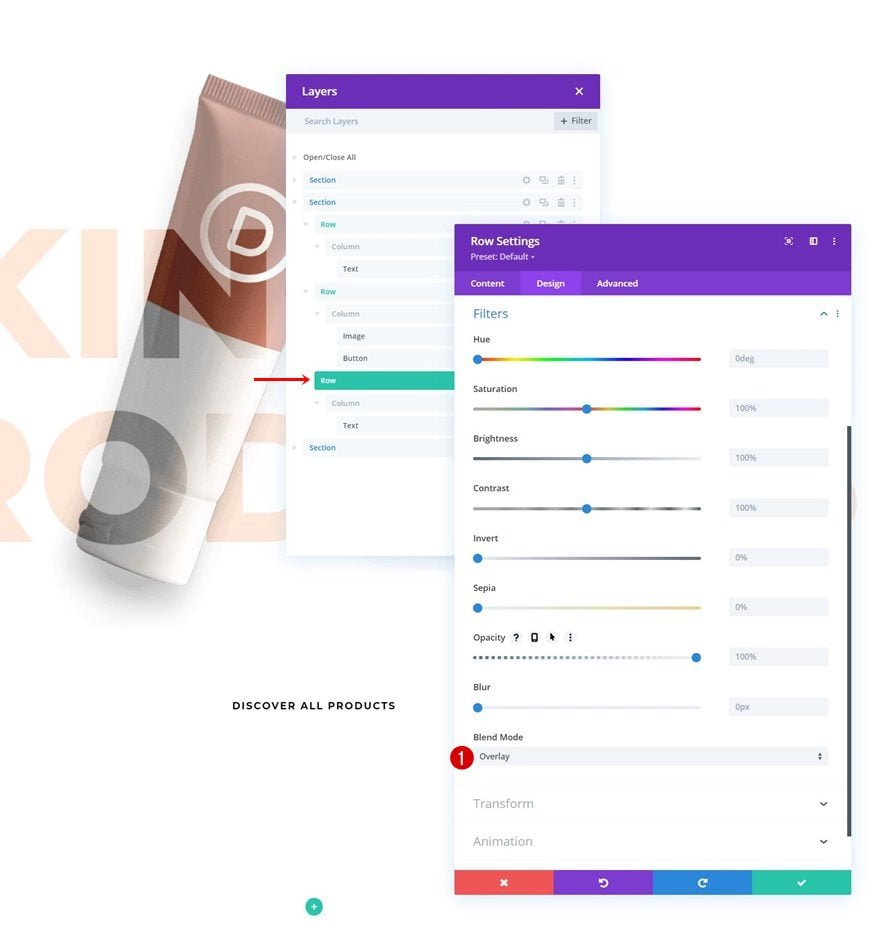
Apply Mix Mode to Row
Then, open the row settings and alter the mix mode within the filters settings.
- Mix Mode: Overlay

Use Scroll Impact on Textual content Module in Row #3
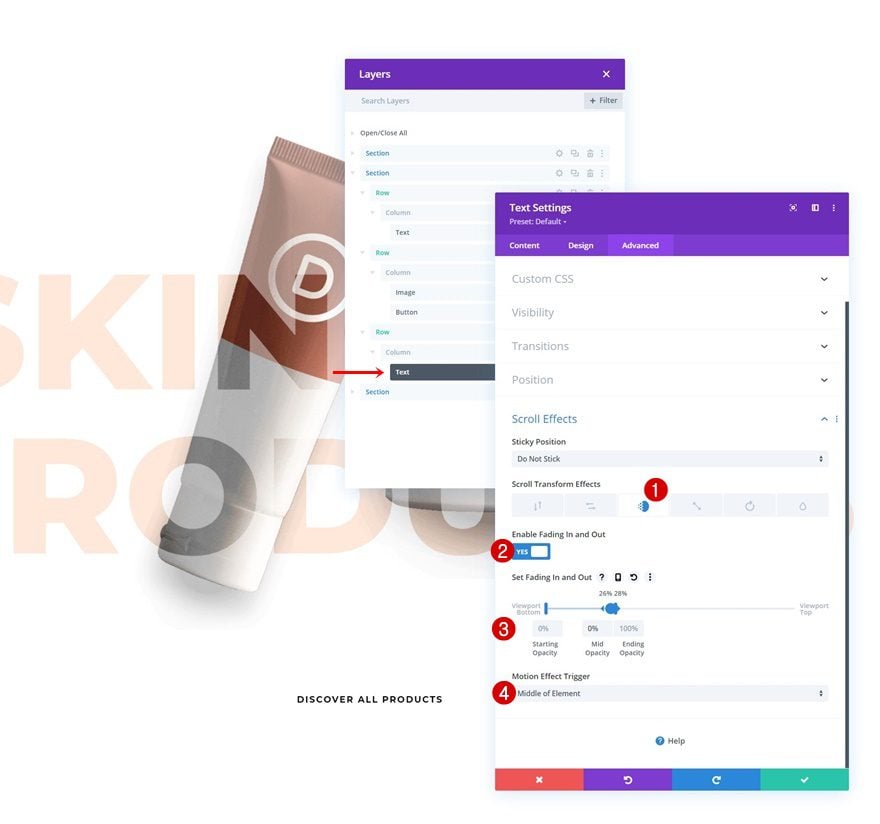
Add Fading in & Out Impact
Full the tutorial by opening the Textual content Module once more, going to the scroll results and enabling the fading out and in impact. That’s it!
- Allow Fading In and Out: Sure
- Beginning Opacity: 0%
- Mid Opacity: 0% (at 26%)
- Ending Opacity: 100% (at 28%)
- Movement Impact Set off: Center of Ingredient

Preview
Now that we’ve gone by way of all of the steps, let’s take a remaining take a look at the end result throughout totally different display sizes.
Desktop
Cellular
Remaining Ideas
On this submit, we’ve proven you how you can get artistic with Divi’s built-in scroll results. Extra particularly, we’ve proven you how you can mix copy on scroll. At first, the copy seems to be beneath the picture. After scrolling, the copy reveals itself above the picture and blends with the picture. You had been capable of obtain the JSON file without cost as effectively! In case you have any questions or options, be happy to depart a remark within the remark part beneath.
Should you’re wanting to be taught extra about Divi and get extra Divi freebies, ensure you subscribe to our e mail e-newsletter and YouTube channel so that you’ll at all times be one of many first folks to know and get advantages from this free content material.
The submit Mix Copy on Scroll with Divi’s Place Settings & Scroll Results appeared first on Elegant Themes Weblog.