

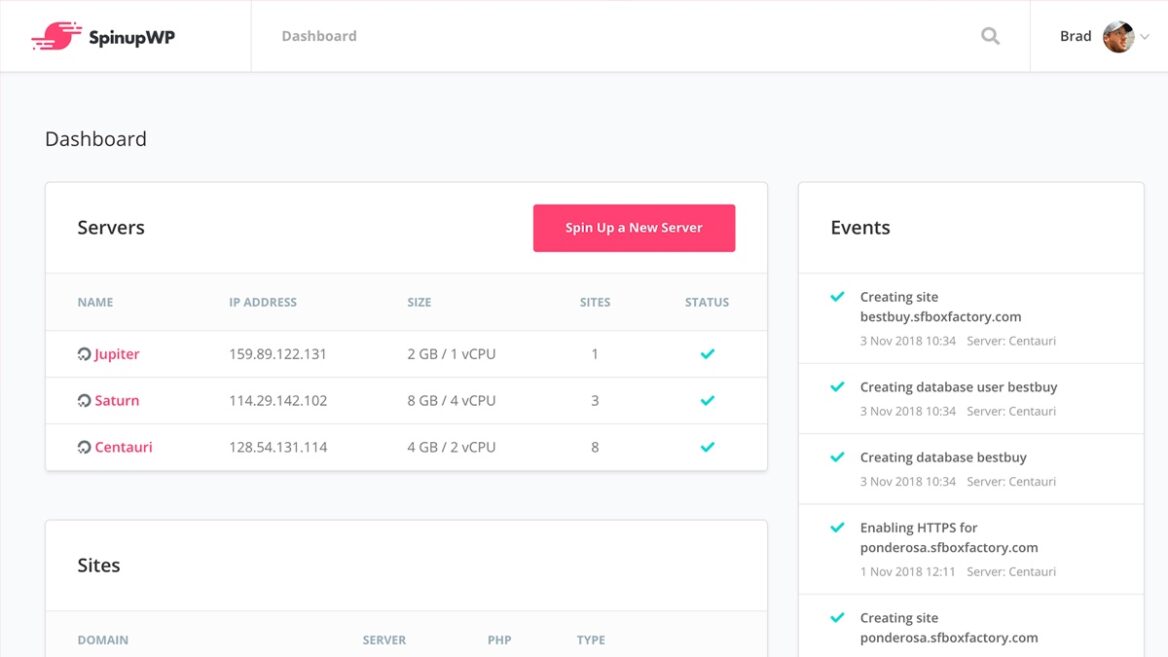

SpinupWP is a modern cloud-based server control panel. It gives you the features of a managed WordPress host on your own low-cost and scalable Digital Ocean servers.
It’s a great choice for production sites, and I host many of my personal sites there. It also makes an excellent development environment.
My development server requirements are:
- Blazing fast. Most of my clients hire me to make their site faster, so my dev server should be optimized for speed.
- Scalable. I can easily scale up and down the size of the server based on my current needs.
- Reasonably priced. I want to keep my hosting costs minimal.
I’m currently using a $15/month droplet with 3GB of memory and 60GB of storage. When you add in the $9/month for SpinupWP, my total hosting bill of $24/month is less than most managed WordPress hosts for a single site.
$50 credit for SpinupWP
If you sign up for SpinupWP using the link below, you’ll get a $50 credit added to your account after 30 days.
My preferred development approach
I use git to version control the custom themes I develop. When I’m ready to push my local changes to the server, I type git push staging master. I also use WP Migrate DB Pro to push/pull the database between environments.
For my clients hosted with WPEngine or BigScoots, I use their built-in staging environments and git-based deployment. For more information, see my articles on git for WPEngine and git for BigScoots.
If a client is hosted elsewhere, I use SpinupWP to replicate the same git push development workflow and features.
Setting up a development environment
Once you have your SpinupWP server setup, it’s easy to add new sites. I have a domain I use for development sites, with each site being setup as a subdomain.
Log into the SpinupWP Dashboard and click the “New Site” button. Create a fresh WordPress install (here’s a guide).
Install WP Migrate DB Pro along with the Media and Theme & Plugin addons on the production site and the new development site. Pull a copy of the database, media, themes, and plugins to your dev server. Alternatively, you can copy the site files over via SSH.
Set up git on the server
- When you ssh into the server, you should already be in the site directory. Typing
lsshould list/filesand/logs - Create a bare repository.
git init --bare project.git - Create the post-receive hook.
touch project.git/hooks/post-receive - Add execute permissions to the post-receive hook.
chmod +x project.git/hooks/post-receive - Edit the post-receive hook (
vi project.git/hooks/post-receive) and add the following to it. Make sure you update the two paths at the top to match your environment
#!/bin/bash
TARGET="/sites/clientname.cultivatewp.com/files"
GIT_DIR="/sites/clientname.cultivatewp.com/project.git"
BRANCH="master"

while read oldrev newrev ref
do
        # only checking out the master (or whatever branch you would like to deploy)
        if [ "$ref" = "refs/heads/$BRANCH" ];
        then
                echo "Ref $ref received. Deploying ${BRANCH} branch to production..."
                git --work-tree=$TARGET --git-dir=$GIT_DIR checkout -f $BRANCH
        else
                echo "Ref $ref received. Doing nothing: only the ${BRANCH} branch may be deployed on this server."
        fi
done
In your local environment, add the remote:
git remote add staging ssh://clientname@167.99.170.45/~/project.gitLocal environment, no media
A lot of the sites I build have massive uploads directories. To save local hard drive space and simplify database syncing, I don’t pull any of the media down locally.
I’ll use Migrate DB Pro to pull down a local copy of the database, theme and plugins. I’ll then install BE Media from Production and use it to source media from the development server. You can install and set it up with wp cli:
wp plugin install be-media-from-production --activate
wp config set BE_MEDIA_FROM_PRODUCTION_URL https://clientname.cultivatewp.com --type=constant
One of the first things I do when building a new theme is determine all the required image sizes. After adding the relevant add_image_size()‘s to the theme, I’ll push the theme and database to staging and regenerate thumbnails. I can then pull a fresh copy of the database locally and have access to all the newly generated thumbnails.
Likewise, if I need to upload new images, I push the database to staging, upload the image on staging, then pull a fresh copy of the database locally.
The post Using SpinupWP as a development server appeared first on Bill Erickson.